Why the First 60 Days Define Lifetime Performance
By Samantha Paszkiewicz
Today’s dairy and beef operations have made substantial strides when it comes to the genetics of their herd which has resulted in significant gains in milk yield, feed efficiency, and carcass quality, but the genetic potential relies heavily on early-life management. You can choose the best quality sperm, but if the environmental parameters aren’t met, the animal’s performance will suffer. The first 60 days represent a critical period of organ and immune system development, during which any impediment has been shown to have long-term consequences in their performance later in life (Soberon et al., 2012; Chester-Jones et al., 2017 ; Haines et al., 2022).
Preweaning Growth and Lifetime Milk Production
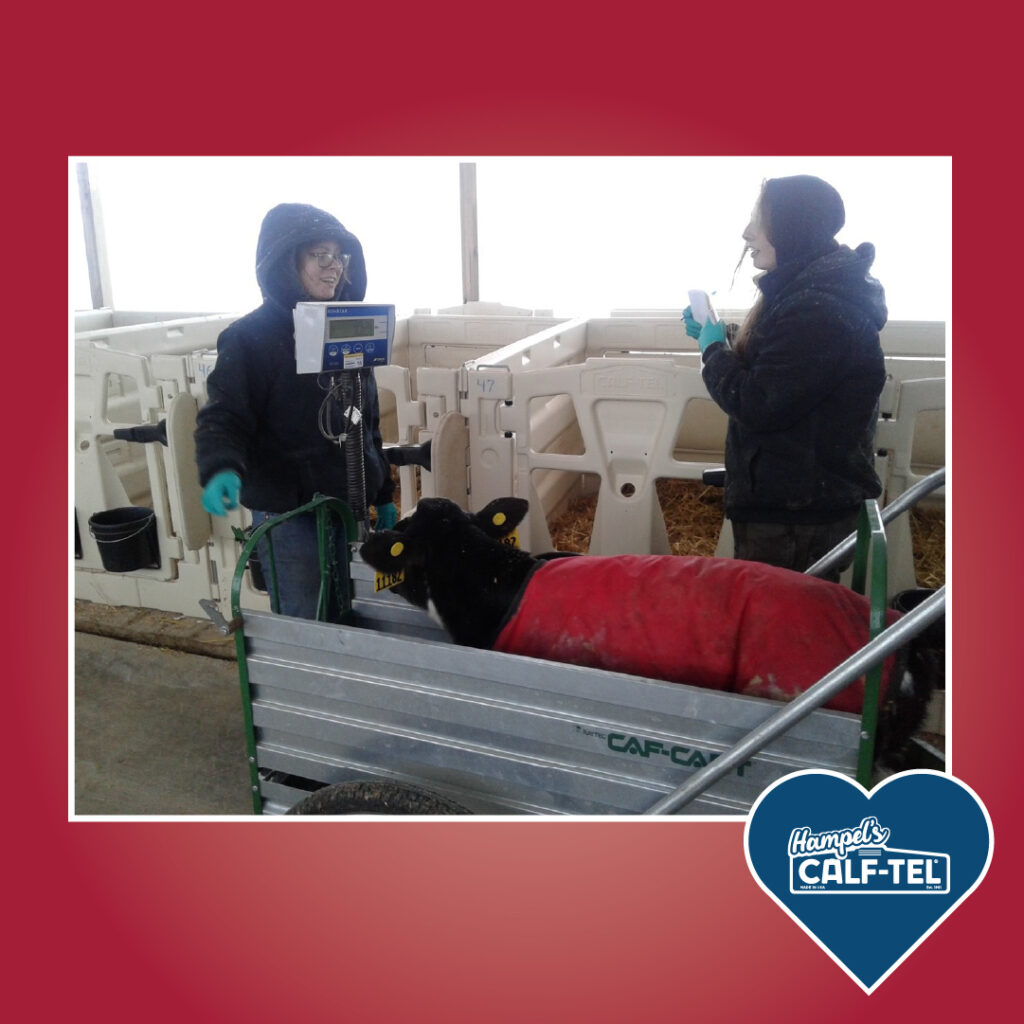
One of the most studied topics in calf research is the relationship between early life average daily gain (ADG) and first lactation yield. For over a decade, researchers have demonstrated that first lactation performance is not solely determined by genetics or heifer management later in life. It’s strongly influenced by nutrient intake experienced during the preweaning period. Calves that achieve higher ADG have been shown to produce more milk in their first lactation.
Soberon et al. (2012) reported that each 1 kg increase in preweaning ADG was associated with approximately 1,500kg additional milk in first lactation.
Haines et al (2022) further demonstrated that calves achieving higher preweaning growth rates were more likely to survive to first calving and exhibited improved milk yield across lactations.
Early-Life Morbidity & Mortality
In the US, calves have been continually failing to meet the target <5% mortality goal (NAHMS, 2014; NAHMS, 2018), while morbidity remains above the ideal <25% benchmark levels with rates ranging from 20-35% (K.K. Elmore et al, 2023).
When calves experience clinical disease like diarrhea and bovine respiratory disease (BRD), they divert energy and nutrients away from growth and development toward immune functions. As a result, we commonly see consequences such as reduced ADG, impaired rumen development, and lung damage that can persist long after apparent recovery (BRD). Any early growth setback will carry forward as the animal ages and cause delayed breeding readiness, increased risk of removal before first calving, and measurable losses in first lactation and carcass performance for dairy and beef operations, respectively (Buczinski et al, 2021).
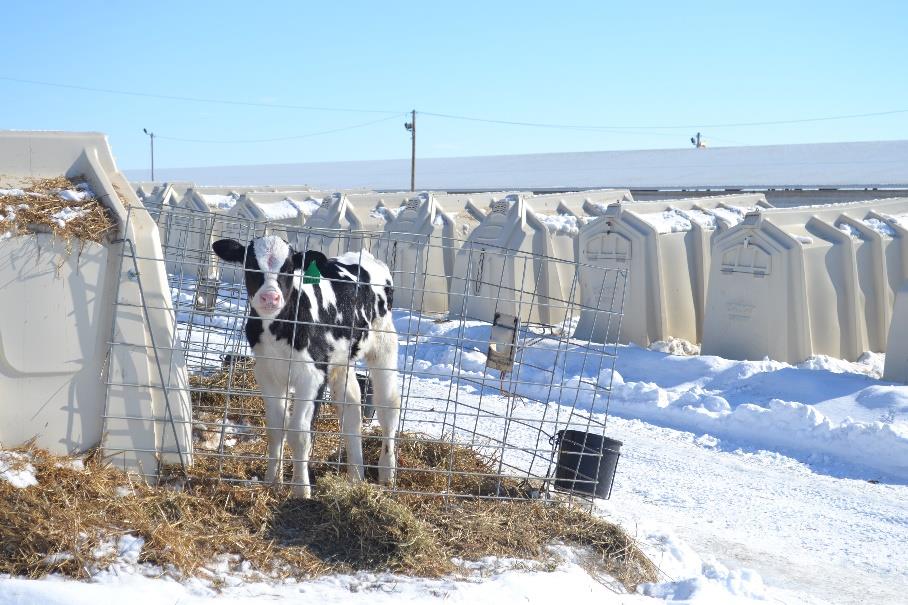
Environmental Stress
Beyond nutrient intake and infectious disease, environmental stresses like cold and heat stress are known factors in affecting growth efficiency through energy partitioning. Energy requirements increase under hot and cold conditions which can take away from development and leave the calf more susceptible to disease.
The lower critical temperature for young calves is generally estimated between 10–15°C depending on age, bedding condition, and hair coat (Hill et al. 2020). Below this threshold, calves suffer metabolic stress that can lead to heart and lung damage.
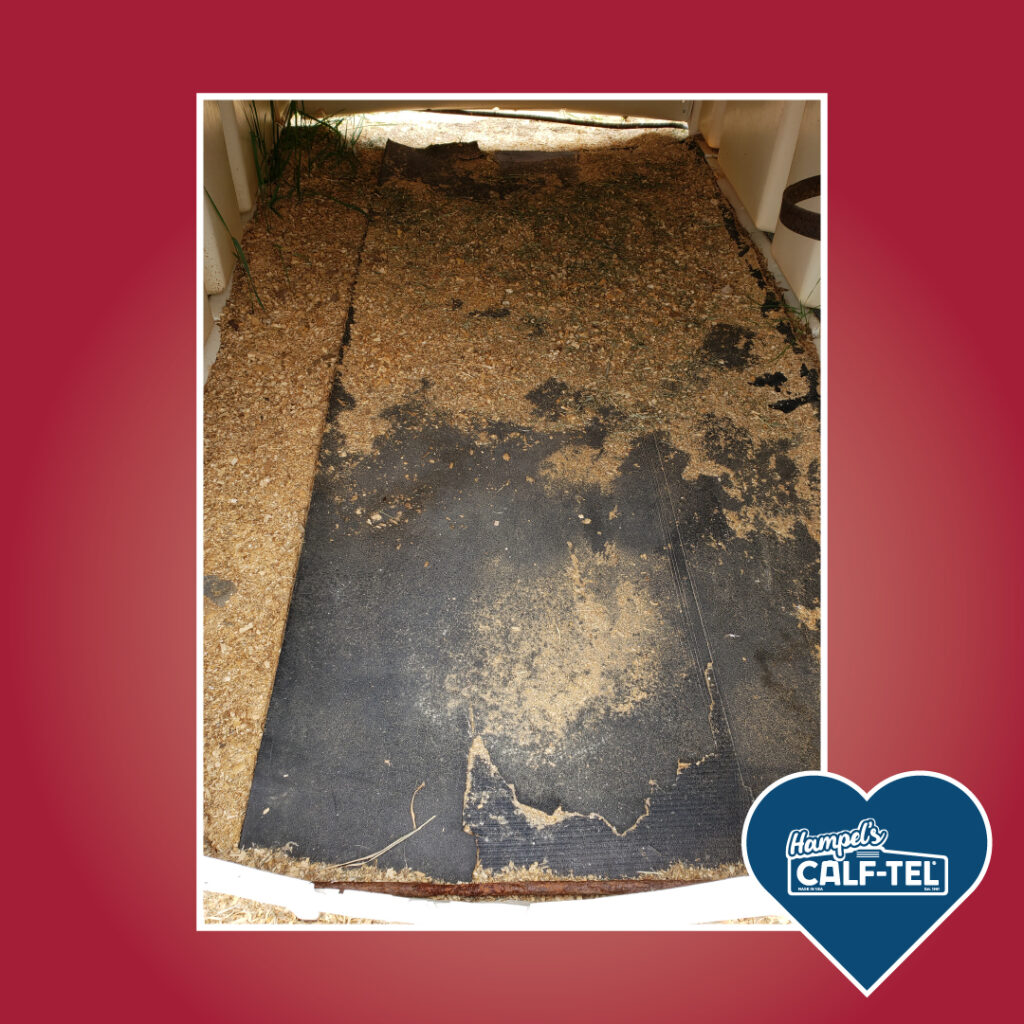
Hill et al. (2020) demonstrated that deep, dry bedding significantly reduced cold stress indicators and supported higher average daily gain (ADG) in preweaned calves during winter conditions. Calves housed in well-bedded hutches maintained superior growth compared with those exposed to less effective bedding management. These findings illustrate that relatively simple environmental modifications can reduce the burden of regulating their temperatures.
Conversely, high ambient temperatures, particularly when combined with elevated humidity, impair heat dissipation and increase respiratory effort, causing more metabolic strain in the heart and lungs. Heat stress may also exacerbate respiratory pathogen persistence by increasing moisture accumulation in poorly ventilated environments (Tao et al., 2013).

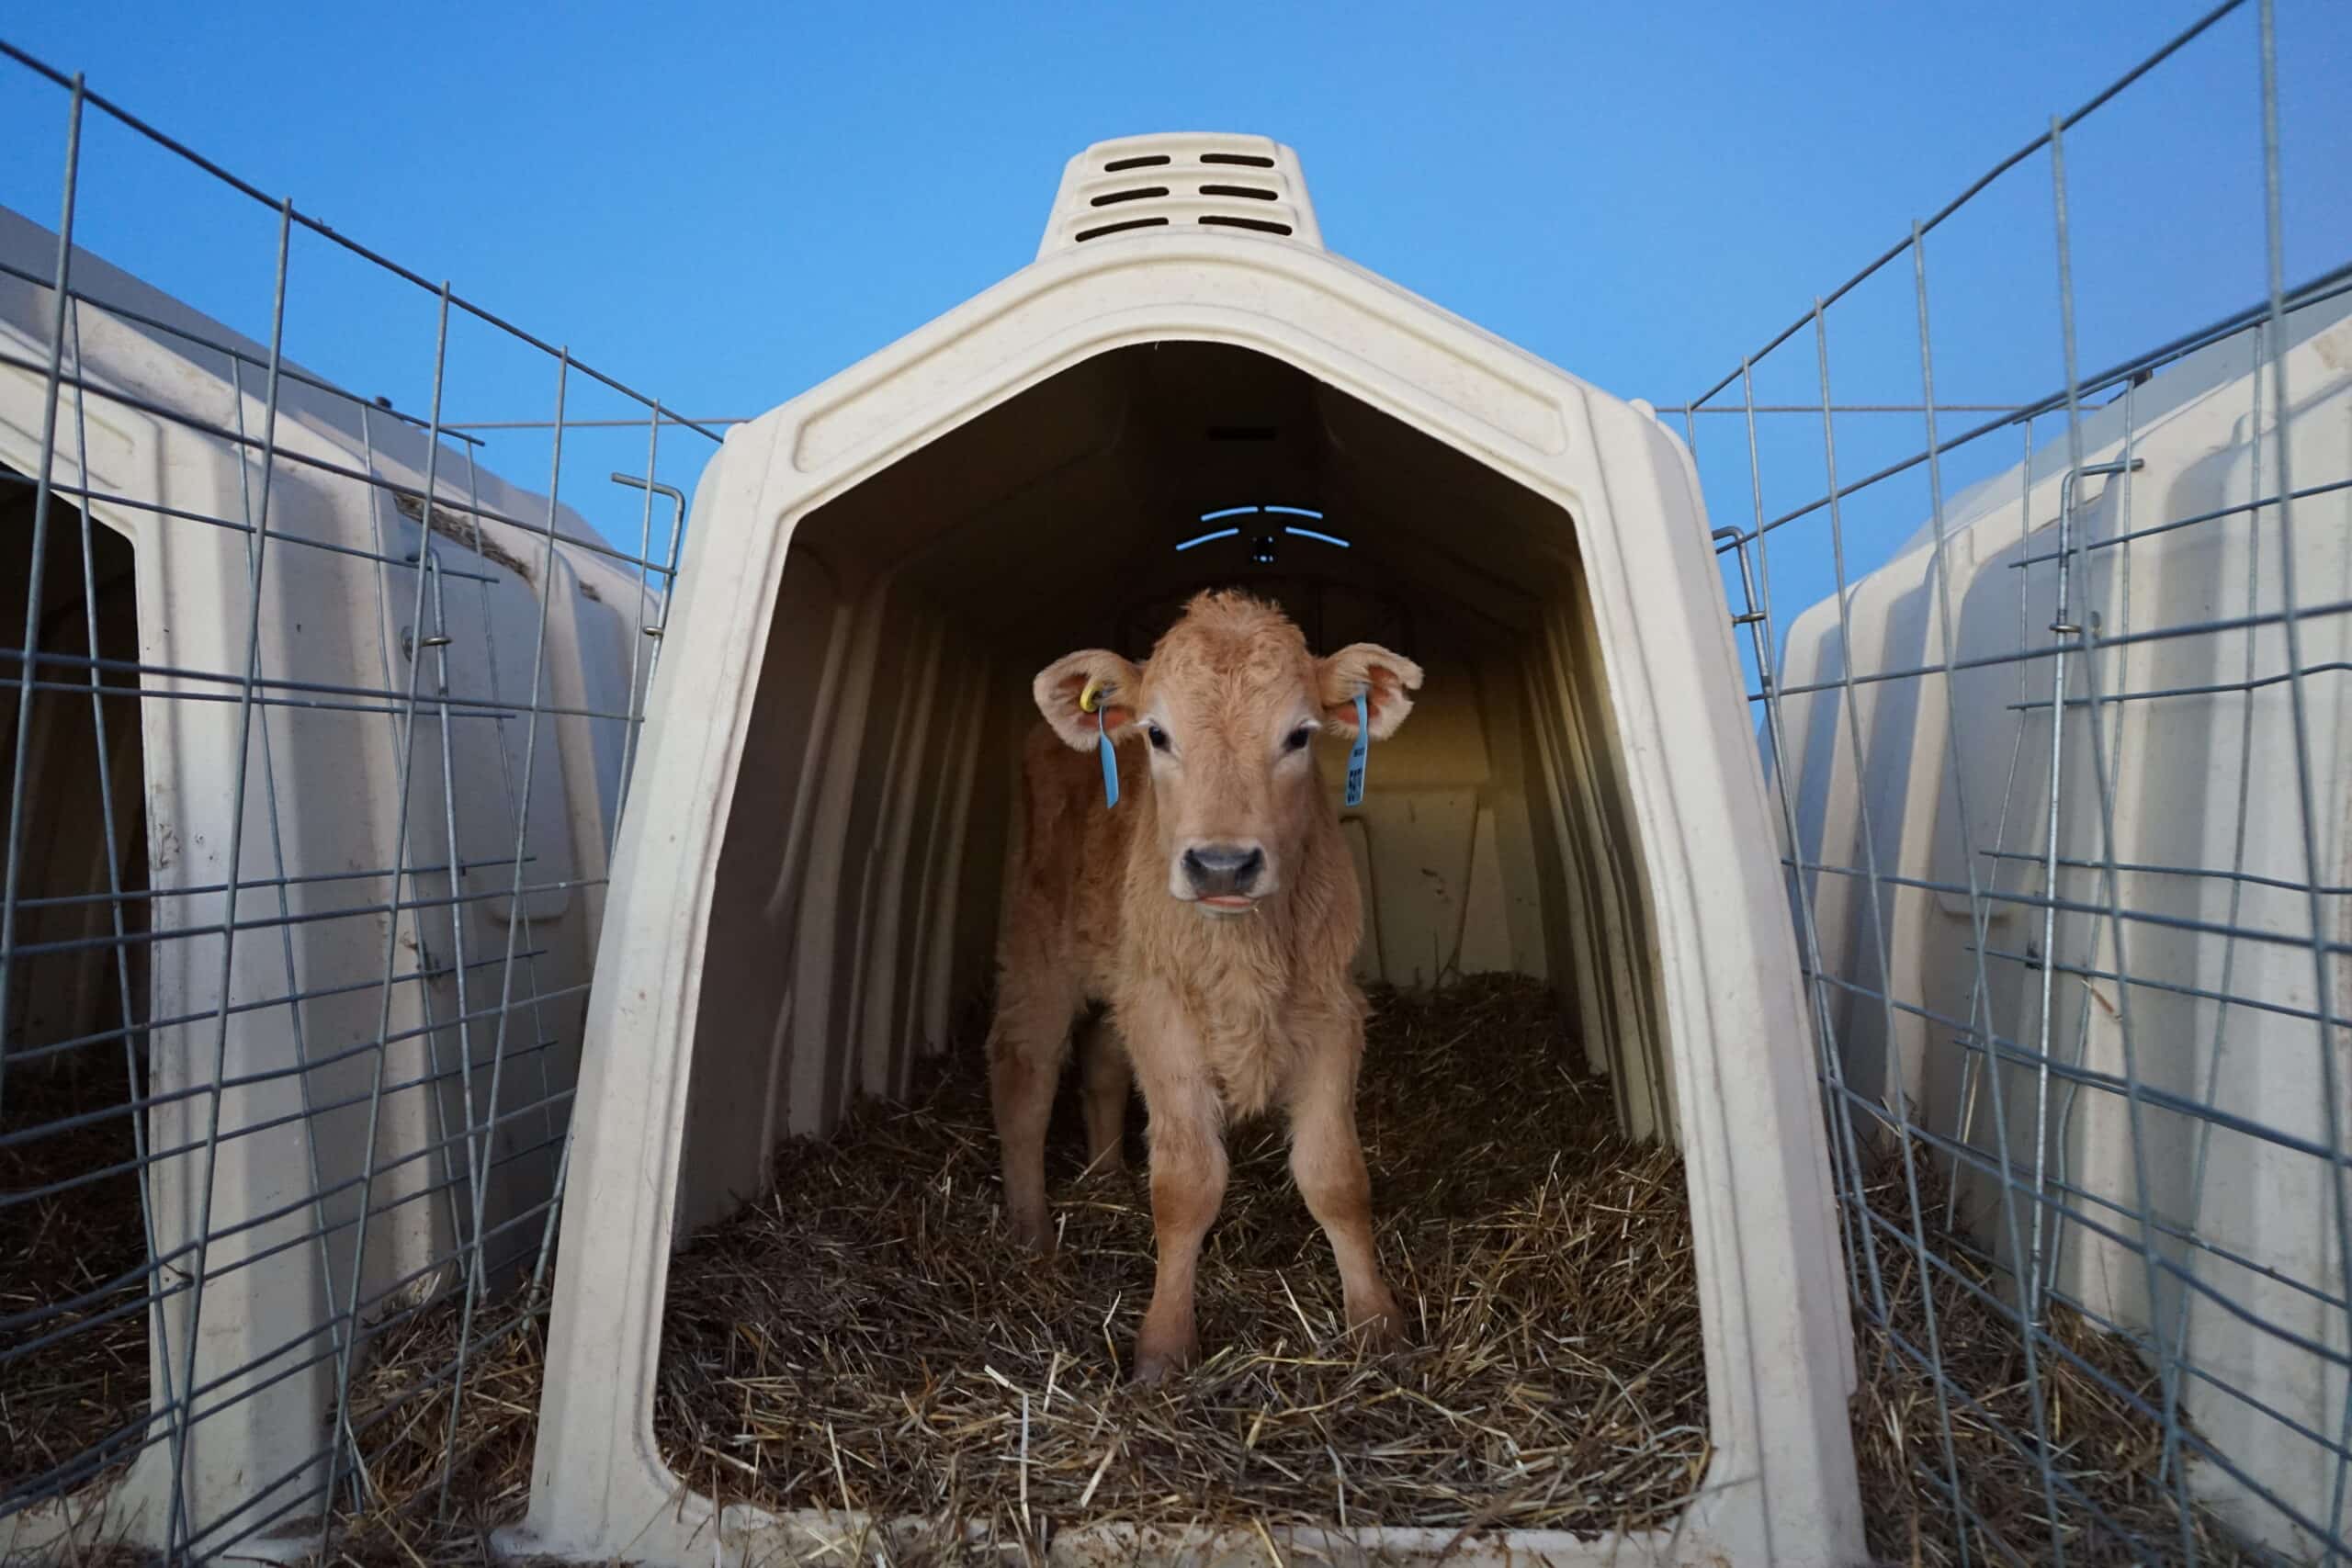
Housing
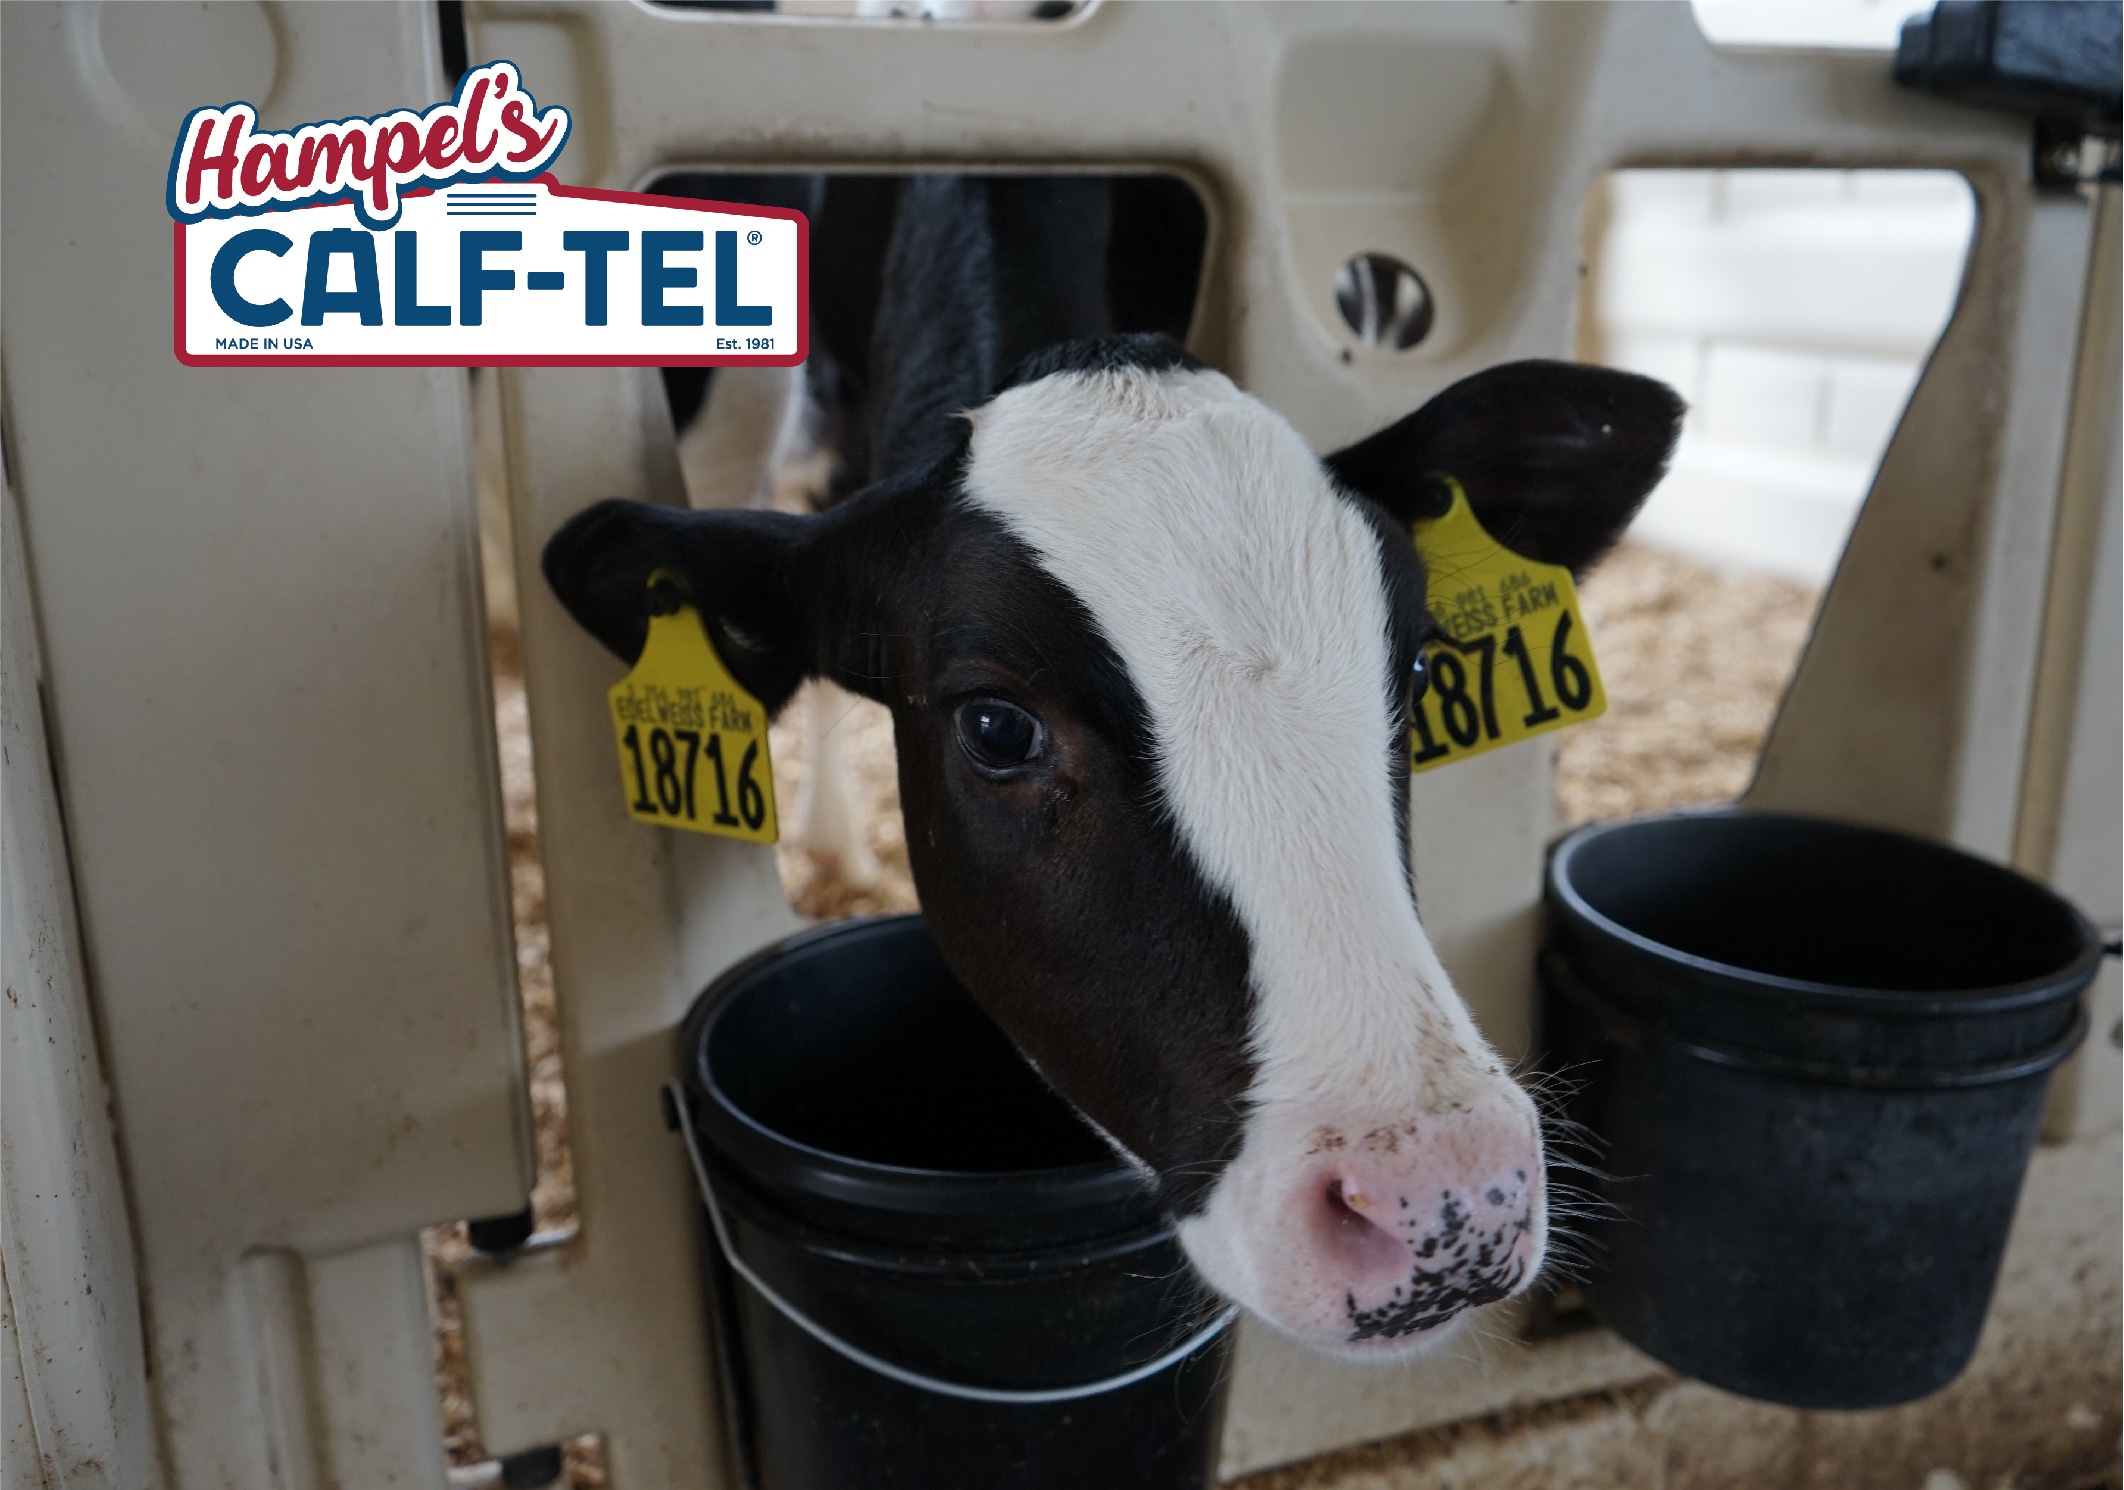
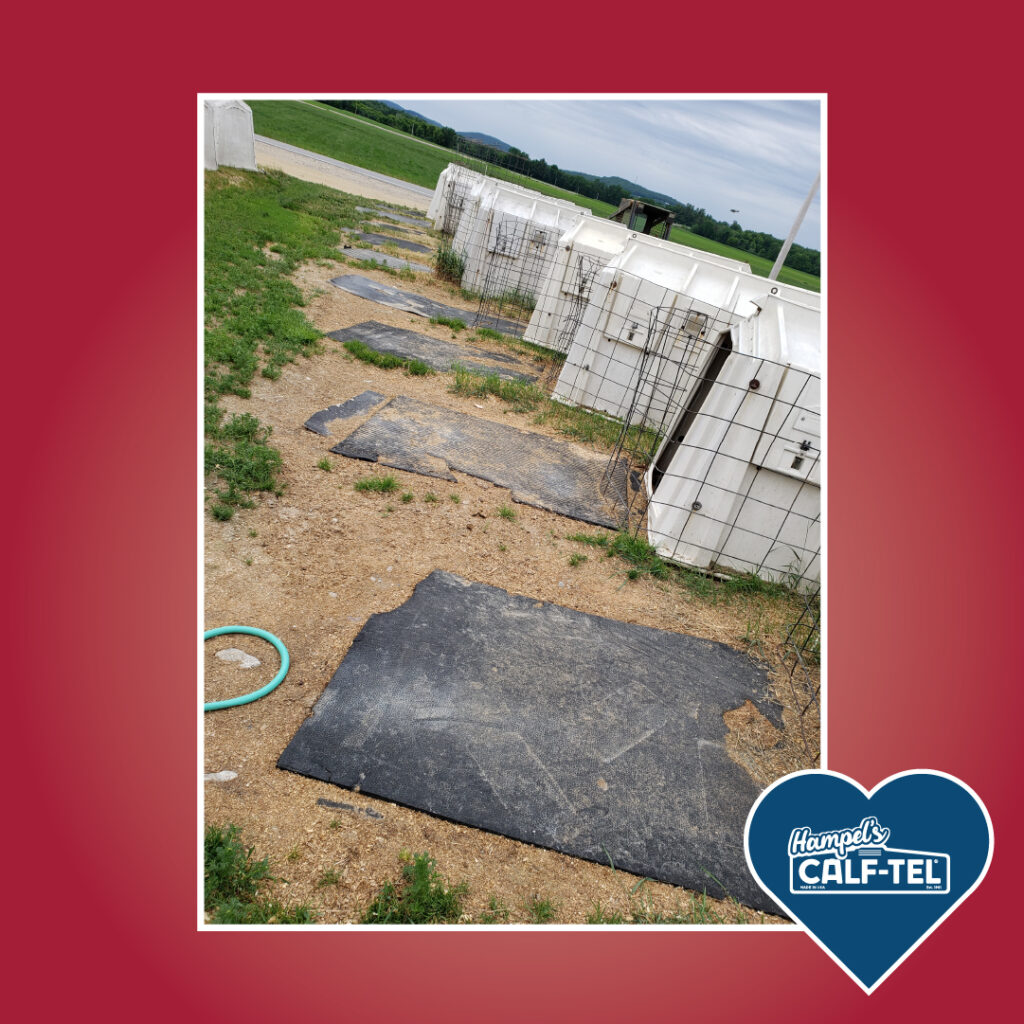
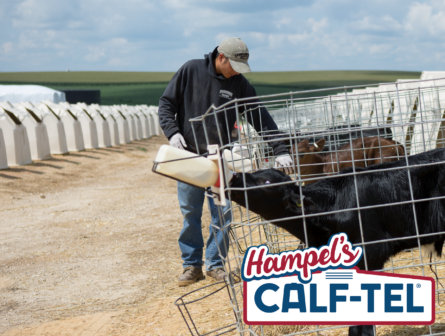
Calf housing is a primary environmental control system as it promotes adequate air exchange, maintains dry bedding, reduces humidity, protects against thermal stress, and minimizes pathogen transmission by keeping calves clean and separate in the early weeks of life. But not all housing is created equally.
Mahendran et al. (2023) reported that individually housed calves in well-ventilated hutches experienced lower relative humidity levels and reduced respiratory challenge compared to calves housed in enclosed systems with less effective ventilation.
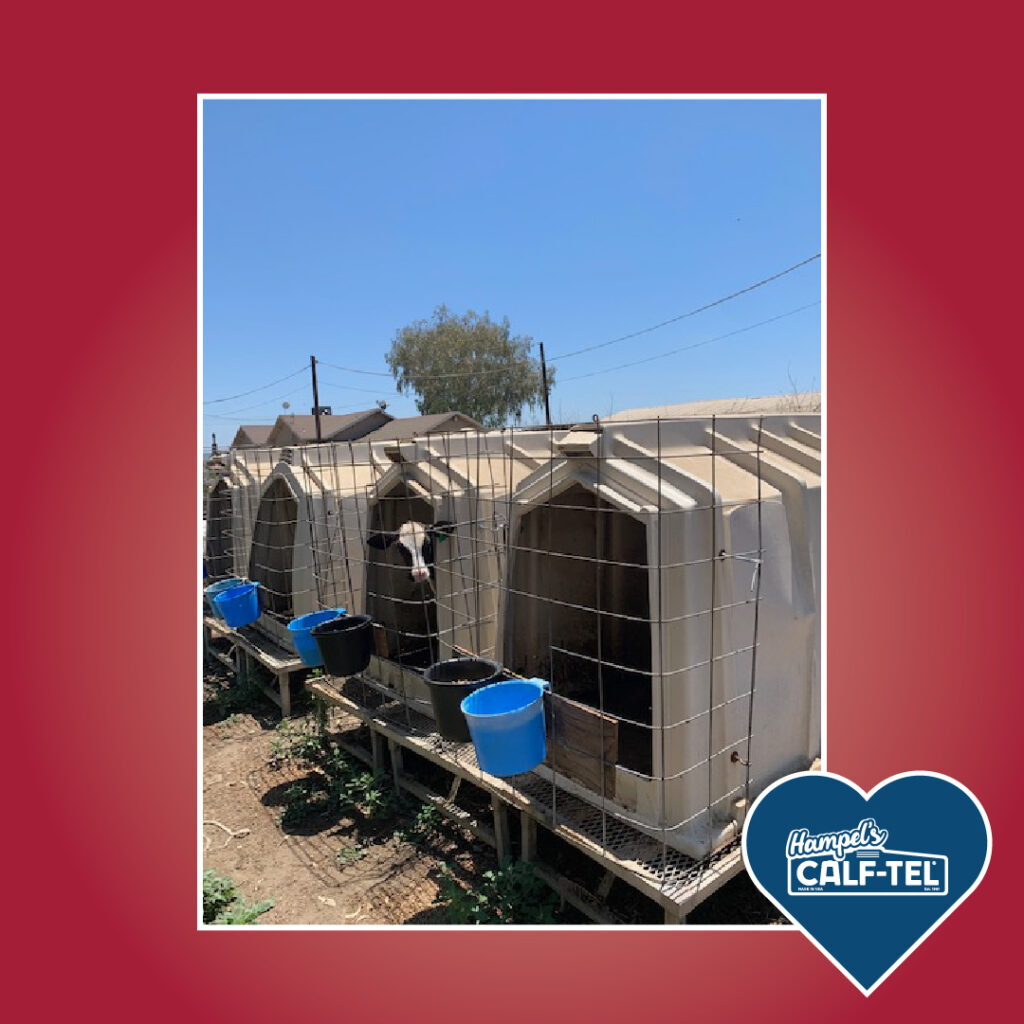
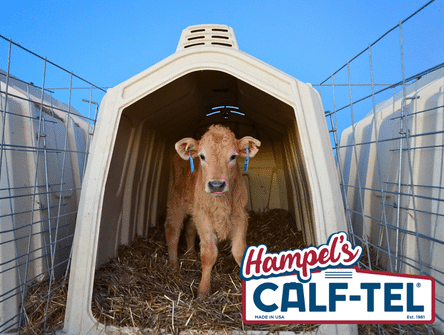
Field data from subtropical environments further demonstrate that housing design can shift calf health outcomes even when heat load is substantial. Peña et al. 2016 evaluated 100 preweaned heifer calves (Holstein and Holstein–Jersey crosses) raised through weaning in north-central Florida during summer under conditions characterized by sustained heat stress exposure. Calves were randomly assigned to either (1) a Calf-Tel enclosed hutch system with an adjustable rear ventilation door placed in an open area with direct sunlight exposure or (2) a wire-framed enclosure with plywood shade placed over sand under tree cover. Health outcomes favored Calf-Tel housing in multiple disease-associated endpoints. Calves in wire hutches exhibited a greater frequency of respiratory signs, including nasal discharge and coughing, and had substantially higher odds of requiring veterinary treatment compared with calves in Calf-Tel hutches.

Conclusion
From average daily gain to respiratory health and environmental stress, early-life management decisions have long-term consequences that follow calves throughout their lives.
Housing systems serve as critical environmental modifiers that influence humidity, dryness, pathogen exposure, and thermal stress; all factors that affect lifetime economic performance.
This evidence supports a clear conclusion: healthy calves become profitable cows. Protecting early-life growth and health through optimized Calf-Tel housing systems is essential for realizing genetic potential and maximizing long-term productivity in both dairy and beef operations.
References
Buczinski S, Achard D, Timsit E. Effects of calfhood respiratory disease on health and performance of dairy cattle: A systematic review and meta-analysis. J Dairy Sci. 2021 Jul;104(7):8214-8227. doi: 10.3168/jds.2020-19941. Epub 2021 Apr 23. PMID: 33896639.
Chester-Jones, H., Heins, B. J., Ziegler, D., Schimek, D., Schuling, S., Ziegler, B., de Ondarza, M. B., Sniffen, C. J., & Broadwater, N. (2017). Relationships between early-life growth, intake, and birth season with first-lactation performance of Holstein dairy cows. Journal of Dairy Science, 100(5), 3697–3704.
G. Peña, C. Risco, E. Kunihiro, M-J. Thatcher, P.J. Pinedo, Effect of housing type on health and performance of preweaned dairy calves during summer in Florida1, Journal of Dairy Science, Volume 99, Issue 2, 2016, Pages 1655-1662
Haines, D. M., et al. (2022). Associations between preweaning growth and first-lactation milk production in dairy cattle. Journal of Dairy Science, 105(3), 2354–2366
Hill, T. M., Bateman, H. G., Aldrich, J. M., & Schlotterbeck, R. L. (2020). Effects of environmental temperature and bedding on growth and health of preweaned dairy calves. Journal of Dairy Science, 103(6), 5629–5640.
K.K. Elmore, G.E. Chibisa, Graduate Student Literature Review: Reducing mortality and morbidity in transported preweaning dairy calves: Colostrum management and pretransport nonsteroidal anti-inflammatory drug administration*, Journal of Dairy Science, Volume 106, Issue 8, 2023, Pages 5753-5762
Mahendran, S. A., Booth, R. E., Bell, N. J., & Nanjiani, I. A. (2023). Housing conditions and environmental parameters associated with respiratory health in preweaned dairy calves. Journal of Dairy Science, 106(2), 1452–1466.
Soberon, F., Raffrenato, E., Everett, R. W., & Van Amburgh, M. E. (2012). Preweaning milk replacer intake and effects on long-term productivity of dairy calves. Journal of Dairy Science, 95(2), 783–793.
Tao, S., & Dahl, G. E. (2013). Heat stress effects during late gestation on dry cows and their calves. Journal of Dairy Science, 96(7), 4079–4093.